Hakydans MK1 restoration
+14
Dunc
Duncs
Mintys-turbo-mk1
lewey
robr33gts
gtirx2
charliemk1
Speedy
Unograle
richvans
doody
jas_racing
vern
hakydan
18 posters
Page 1 of 5
Page 1 of 5 • 1, 2, 3, 4, 5 
 Hakydans MK1 restoration
Ok, so with the sad loss (all be it temporary) of TC here is the build of my phase 2 MK1 Turbo. It may take a while to get all the pics up but ill do a bit each day. It all started in April 2011 when I was on the look out for a MK1 Turbo after selling my baby, Evo I Integrale. I had been heavily involved with Grales for 7 years and after a fall out with the Club Lancia Sport chairman, I decided to sell up and move on.
I also wanted to find a car that I could build with my youngest son Kynan who at the time was just 7. He loves working on the car in the garage with me so he would become an important part of the build.
I found a MK1 on gumtree that was just outside Birmingham so stopped off to see it as I was on my way up to Liverpool anyway. To cut a long story short, the guy was not honest about the car and when I got there it needed a little more than he said. However it was solid, I wasn't to worried about anything else but the body had to be unwelded and apart from a bad repair to both rear turretts and one of the fronts it was just fine. On getting it home there was more oil outside the engine than there was inside but like I said, I wasn't bothered.
Here are the pics from the advert




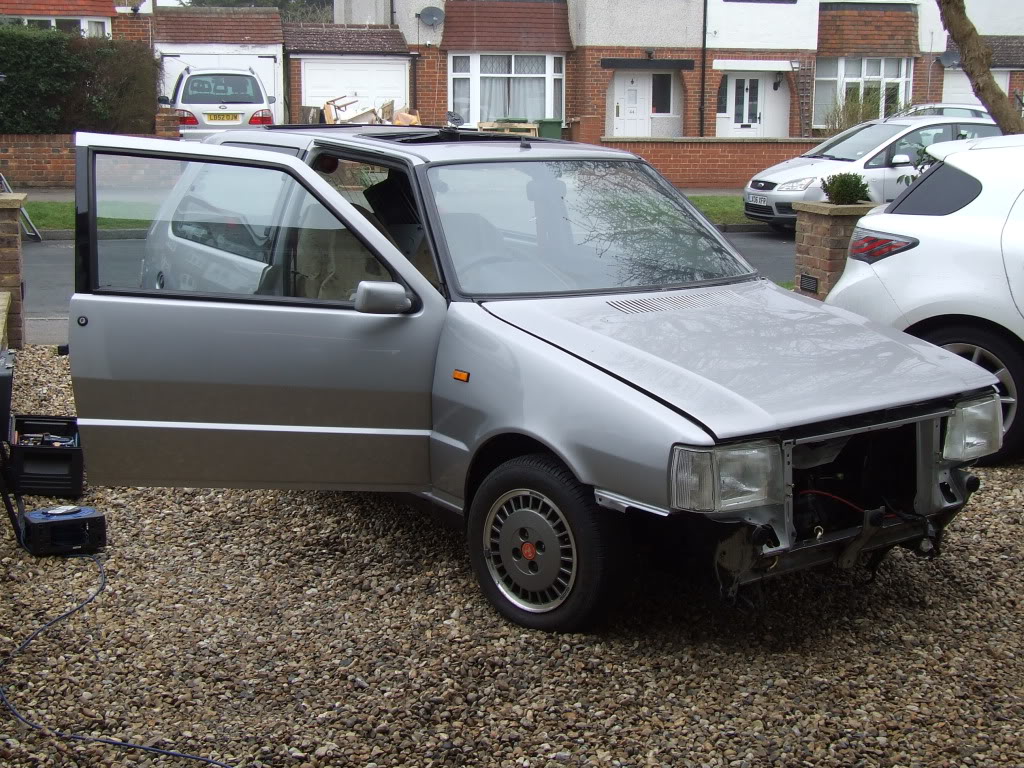
Here it is shortly after I got it home


The first thing I did was sort the bodywork out, thats the bad repairs on the turretts and get it painted. That would end up taking 6 months though because I was stupid!! I told them that it was a project and so there was no rush. In the meantime I started stripping and cleaning all of the engine components.
Part 2 to follow because Photobucket is sooooo slow since they changed it:(
I also wanted to find a car that I could build with my youngest son Kynan who at the time was just 7. He loves working on the car in the garage with me so he would become an important part of the build.
I found a MK1 on gumtree that was just outside Birmingham so stopped off to see it as I was on my way up to Liverpool anyway. To cut a long story short, the guy was not honest about the car and when I got there it needed a little more than he said. However it was solid, I wasn't to worried about anything else but the body had to be unwelded and apart from a bad repair to both rear turretts and one of the fronts it was just fine. On getting it home there was more oil outside the engine than there was inside but like I said, I wasn't bothered.
Here are the pics from the advert


Here it is shortly after I got it home


The first thing I did was sort the bodywork out, thats the bad repairs on the turretts and get it painted. That would end up taking 6 months though because I was stupid!! I told them that it was a project and so there was no rush. In the meantime I started stripping and cleaning all of the engine components.
Part 2 to follow because Photobucket is sooooo slow since they changed it:(
Last edited by Hakydan on Wed Apr 23, 2014 12:03 am; edited 3 times in total

hakydan- 4th gear

- Posts : 113
Join date : 2013-01-30
 Re: Hakydans MK1 restoration
Here are more pics of the project as it has evolved over the past almost two years


A guy was selling an uno that had been sat under a willow tree for 18 years, there wasnt much left of the car but it had all the original fittings so it had to go somewhere

The day finally came when the UT was going to be painted, so I jumped in the car and shot down to the b/shop. How happy I was to see it finaaly receiving a new coat of paint


Because the car had spent sooo long at the b/shop, it gave me plenty of time to buy new parts and get to work on other areas of the car. I had already started to repair the front bumper which had 20 odd years of scuffs and stone chips in it.


New parts started to arrive in the shape of a new boot lock and fuel cap surround

A Piper 285 cam

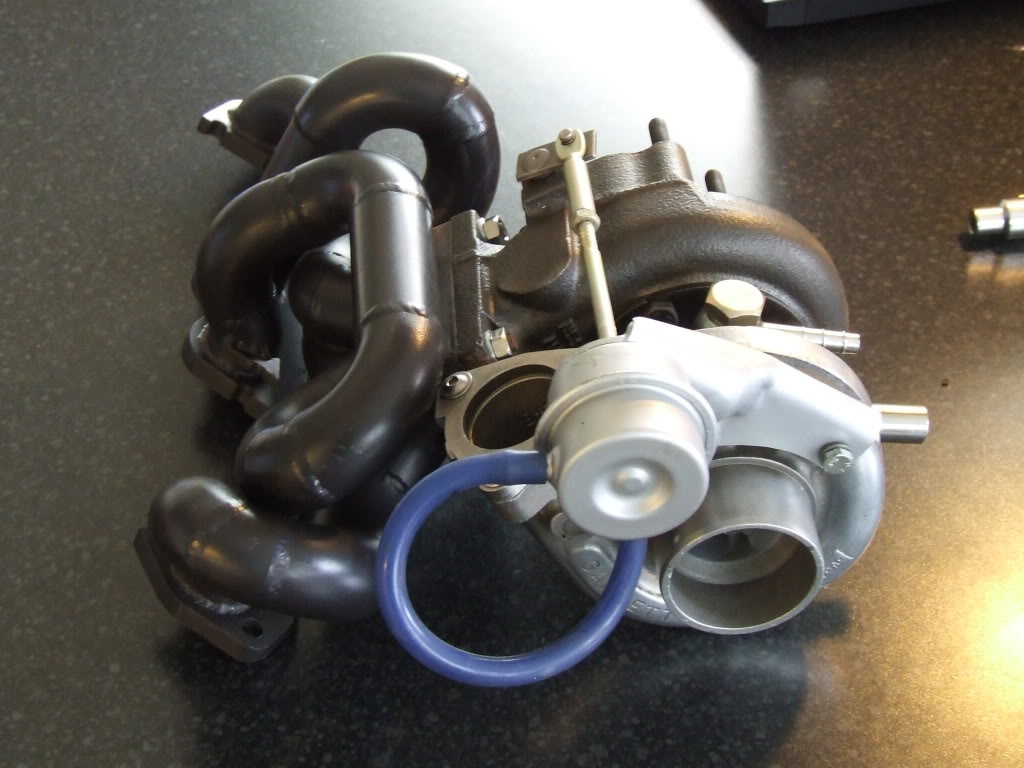
And a Garrett T25 that I stripped so that it could be sent to Turbo Rebuild. It would be coming back with everything replaced except the compressor housing. 360 degree bearings, lightened impellors and a .64 exhaust housing:)

With parts arrving and the turbo now on its way, the engine components received a clean courtesy of MJK Blasting. There had been a discussion on Turbo Collective about different ways of cleaning/blasting. I decided to go with Aqua blasting as it was alot kinder than using sand.
The results spoke for themselves.


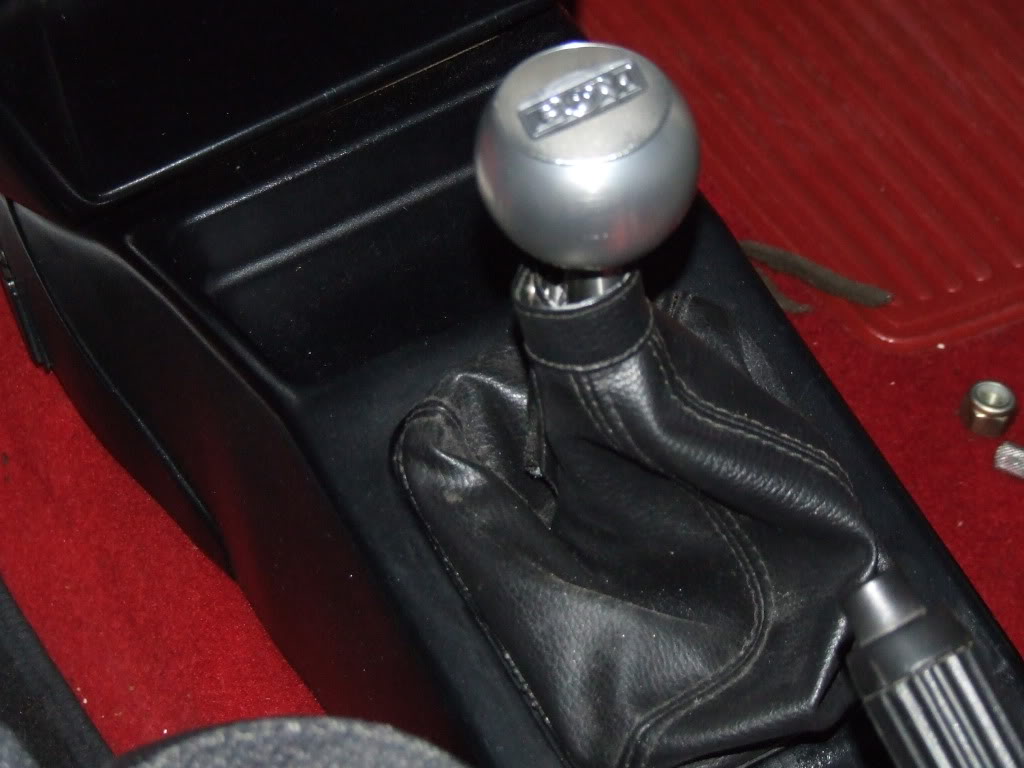
Another new part arrived in the shape of a B&M quick shift...tidy:)


A guy was selling an uno that had been sat under a willow tree for 18 years, there wasnt much left of the car but it had all the original fittings so it had to go somewhere

The day finally came when the UT was going to be painted, so I jumped in the car and shot down to the b/shop. How happy I was to see it finaaly receiving a new coat of paint


Because the car had spent sooo long at the b/shop, it gave me plenty of time to buy new parts and get to work on other areas of the car. I had already started to repair the front bumper which had 20 odd years of scuffs and stone chips in it.


New parts started to arrive in the shape of a new boot lock and fuel cap surround

A Piper 285 cam

And a Garrett T25 that I stripped so that it could be sent to Turbo Rebuild. It would be coming back with everything replaced except the compressor housing. 360 degree bearings, lightened impellors and a .64 exhaust housing:)

With parts arrving and the turbo now on its way, the engine components received a clean courtesy of MJK Blasting. There had been a discussion on Turbo Collective about different ways of cleaning/blasting. I decided to go with Aqua blasting as it was alot kinder than using sand.
The results spoke for themselves.


Another new part arrived in the shape of a B&M quick shift...tidy:)


hakydan- 4th gear

- Posts : 113
Join date : 2013-01-30
 Re: Hakydans MK1 restoration
Last edited by Hakydan on Wed Apr 23, 2014 12:06 am; edited 1 time in total

hakydan- 4th gear

- Posts : 113
Join date : 2013-01-30
 Re: Hakydans MK1 restoration
Last edited by Hakydan on Wed Apr 23, 2014 12:04 am; edited 1 time in total

hakydan- 4th gear

- Posts : 113
Join date : 2013-01-30
 Re: Hakydans MK1 restoration
Fucking hell what a build mate!
I doth my hat to you, anal aint the word but the detail is immense, very jealous!
I doth my hat to you, anal aint the word but the detail is immense, very jealous!

vern- Moderator

- Posts : 274
Join date : 2013-01-27
Location : East sussex
 Re: Hakydans MK1 restoration
vern wrote:Fucking hell what a build mate!
I doth my hat to you, anal aint the word but the detail is immense, very jealous!
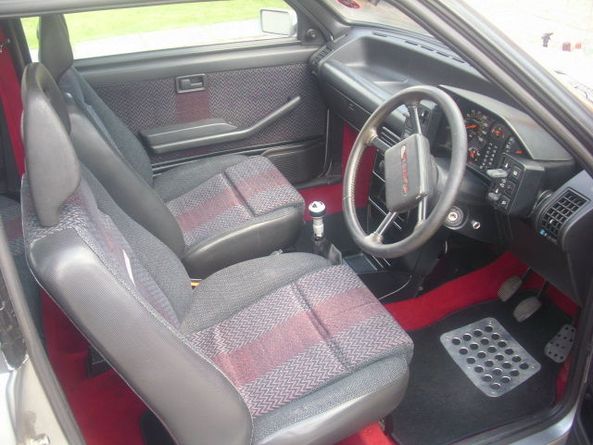
Thanks Vern:) Ive now had the UT for 2 years and I never planned for it to become the build that it has. Im just getting my pics together of the seats I purchased for it. Or should I say im building the courage to get the pics on here of the seats and the work I have done to the interior. Lets just say its involved the grinder, welder, fibre glass and alot of head aches but I think the final result is great:)
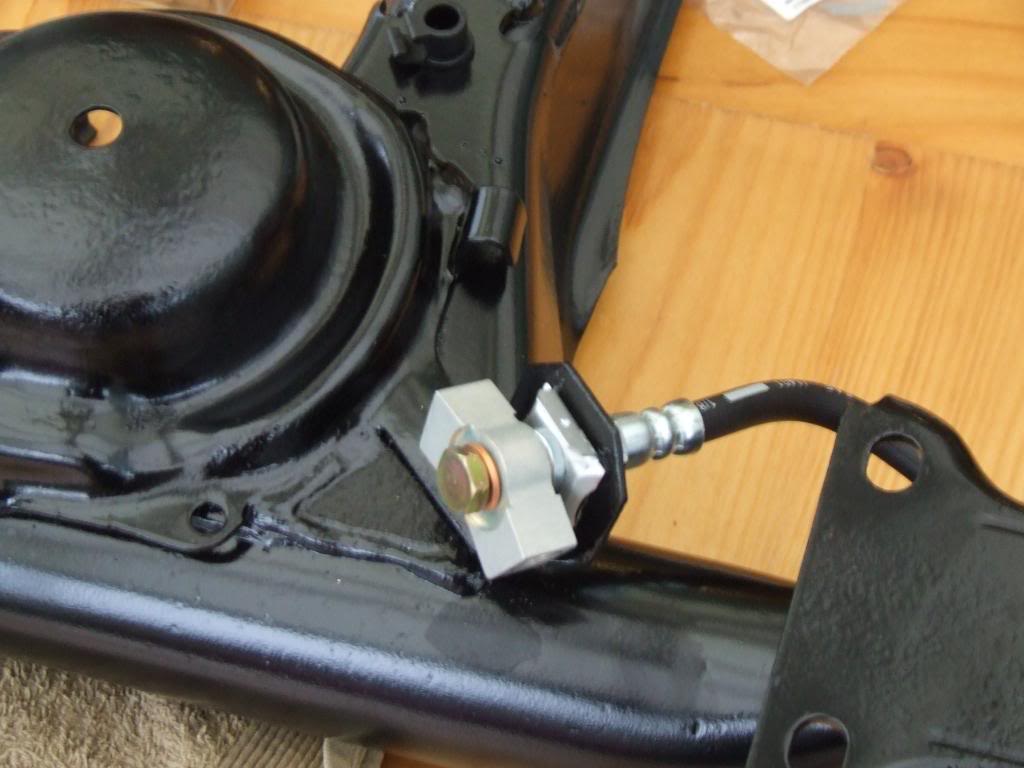
I started by spending 2 weeks sitting in the back just looking at the cross member that runs across the car. The reason being was that I wanted to keep the OE runners that came with the seats and in order to do so I would have to modify the cross member. I carried out some very careful measurements be fore the plasma disc was switched on as you can see below.


hakydan- 4th gear

- Posts : 113
Join date : 2013-01-30
 Re: Hakydans MK1 restoration
Stunning work - really sets the bar for the rest of us! 

jas_racing- 5th gear

- Posts : 314
Join date : 2013-01-29
Age : 48
Location : Peterborough
 Re: Hakydans MK1 restoration
jas_racing wrote:Stunning work - really sets the bar for the rest of us!
Thanks:) Its getting there. So a little update with pics. Spot welded the cross member back into place and when happy I then seem welded. making sure that both sides were perfectly level and even. It all worked out perfectly and the job was done:)


Last edited by Hakydan on Wed Apr 23, 2014 12:09 am; edited 1 time in total

hakydan- 4th gear

- Posts : 113
Join date : 2013-01-30
 Re: Hakydans MK1 restoration
Why have you mounted the intercooler like that? Are you running that 25r on the standard injectors and ecu?

st1allstar- Over boosting

- Posts : 539
Join date : 2013-03-01
Age : 39
Location : west mids
 Re: Hakydans MK1 restoration
jas_racing wrote:Stunning work - really sets the bar for the rest of us!
my thoughts exactly.

doody- 5th gear

- Posts : 316
Join date : 2013-02-04
Age : 48
Location : crowland
 Re: Hakydans MK1 restoration
st1allstar wrote:Why have you mounted the intercooler like that? Are you running that 25r on the standard injectors and ecu?
Ive done it in order to reduce lag Mark, by reducing the the pipework that runs from the turbo to the cooler and then into the inlet, the amount of pressure loss experienced with the standard setup is removed. Subaru have always utilised this method by mounting the cooler as close to the turbo and inlet as possible as did Lancia with the Integrale.
I very much doubt I will run the car with the standard Injectors and ECU. Im playing catch up with the thread as the car is currently at Austec Racing having the exhaust system built, setting up the cam along with a few other things so once they have finished that they will be running it on the Dyno to see what its doing at the moment and will then decide what changes will need to be made to the ECU, injectors etc.

hakydan- 4th gear

- Posts : 113
Join date : 2013-01-30
 Re: Hakydans MK1 restoration
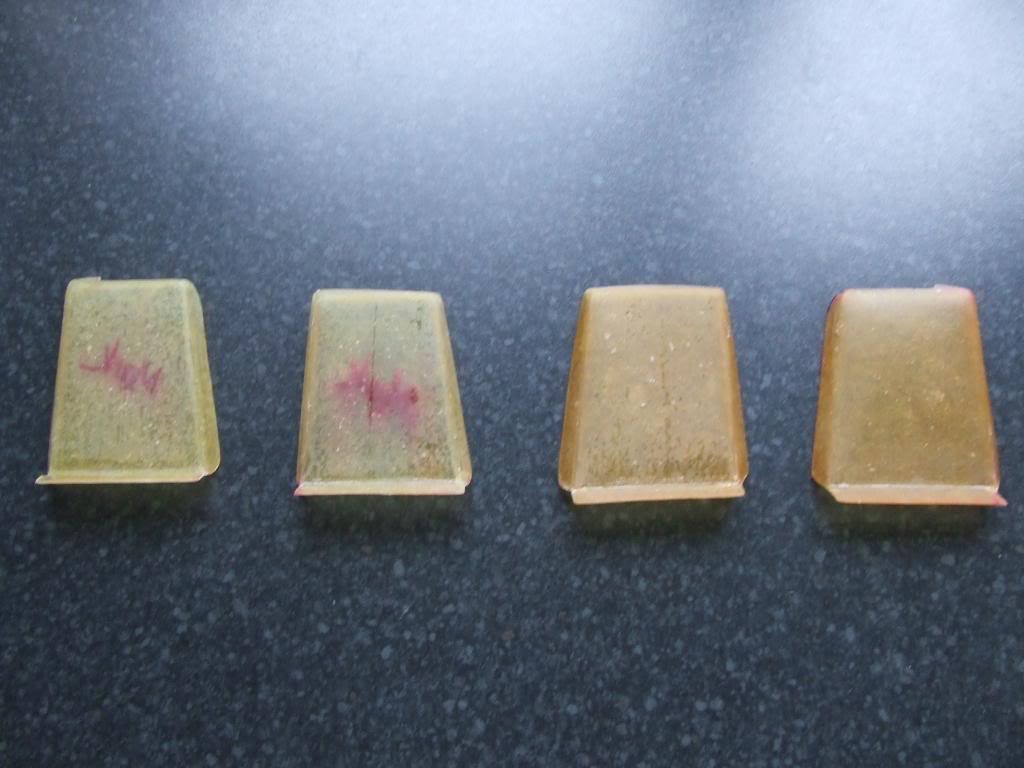
OK, so as you may have noticed, with the new seat runners in, I had to cut the carpet as its moulded leaving some very untidy looking areas. Folding the caret wouldn't give a factory finish so I set to work on making some 'Finishing panels' out of fibre glass.
The first sep was to take some very careful measurements so that I could make a template. Once the template was made, I cut them out and used some double sided capet adhesive to apply some kitchen foil. The kitchen foil prevents the resin and fibre glass from sticking to the template.
Once the fibre glass had been applied I baked them in the oven to ensure they has gone off. I then removed them from the templates/moulds and removed the excess. The final job was to get that 'Factory finish' so I used some adhesive promotor, primed them and then used the correct textured coating. A few coats of black to finish the job and I was done.
And ive got to say, I am very happy with the results:)


hakydan- 4th gear

- Posts : 113
Join date : 2013-01-30
 Re: Hakydans MK1 restoration
i would have thought the no air flow to the intercooler would result in very high in take temps, especially as the standard intercooler is defo way too small for a gt25r in the first place even in the originial position,
is it a gt2554r turbo you've fitted? where did you get the manifold from?
are you going to be coming to the retro show?
is it a gt2554r turbo you've fitted? where did you get the manifold from?
are you going to be coming to the retro show?

st1allstar- Over boosting

- Posts : 539
Join date : 2013-03-01
Age : 39
Location : west mids
 Re: Hakydans MK1 restoration
st1allstar wrote:i would have thought the no air flow to the intercooler would result in very high in take temps, especially as the standard intercooler is defo way too small for a gt25r in the first place even in the originial position,
is it a gt2554r turbo you've fitted? where did you get the manifold from?
are you going to be coming to the retro show?
This is a setup that has been used on many WRC cars over the years, horizontally mounting the cooler and using ducting to provide the flow. I have made a custom duct that feeds the cooler with air from the original cooler position.
The standard cooler isnt too small, the problem is that the standard setup has it positioned at the bottom of the bumper and has alot of piping running from the turbo to the cooler and onto the engine. This piping creates pressure loss and so the boost needs to be increased to compensate the loss. Running the more effecient T25 with the decreased piping will result in running lower boost pressure to achieve much higher results.
The aim is not to run a car with massive Hp but to have a reliable 170Hp car with a pretty tasty Torque curve:)
The Manifold has been custom built by my friends company. It still cost an arm and a leg though:( and im hoping to get it to the Retro Show but to be honest, im out of the country the week before and ive still got a number of things that need doing so it may not happen:(

hakydan- 4th gear

- Posts : 113
Join date : 2013-01-30
 Re: Hakydans MK1 restoration
Nice work Mark. What seat are going in then ? stop teasing us !!


Unograle- Moderator

- Posts : 115
Join date : 2013-01-27
 Re: Hakydans MK1 restoration
Unograle wrote:Nice work Mark. What seat are going in then ? stop teasing us !!

Thanks bud:) Ahh, yes what seats are they?? Im going to keep that one quiet until the car is finished;) mainly because I havent taken any pics of the seats in the car but also because they are probably the defining part of the build.
Watch this space;)

hakydan- 4th gear

- Posts : 113
Join date : 2013-01-30
 Re: Hakydans MK1 restoration
OK, so the UT had its base run today on the rolling road and ive got to say, im very happy:) This being my first ever engine/car build I was over the moon that it didnt blow up,lol.
With the base run complete I am now just waiting for the rest of the work that will be done and happy days:)!!
The car was running .4bar boost and standard settings, the result 110.7hp and 113 ftlb Torque.
Very smooth, very happy:)


With the base run complete I am now just waiting for the rest of the work that will be done and happy days:)!!
The car was running .4bar boost and standard settings, the result 110.7hp and 113 ftlb Torque.
Very smooth, very happy:)


hakydan- 4th gear

- Posts : 113
Join date : 2013-01-30
 Re: Hakydans MK1 restoration
That's excellent for less than 1/2 a bar boost.. I would of whacked it right up to a bar personally 

charliemk1- Uno Veteran

- Posts : 293
Join date : 2013-01-27
Age : 60
Location : Dundee
 Re: Hakydans MK1 restoration
charliemk1 wrote:That's excellent for less than 1/2 a bar boost.. I would of whacked it right up to a bar personally
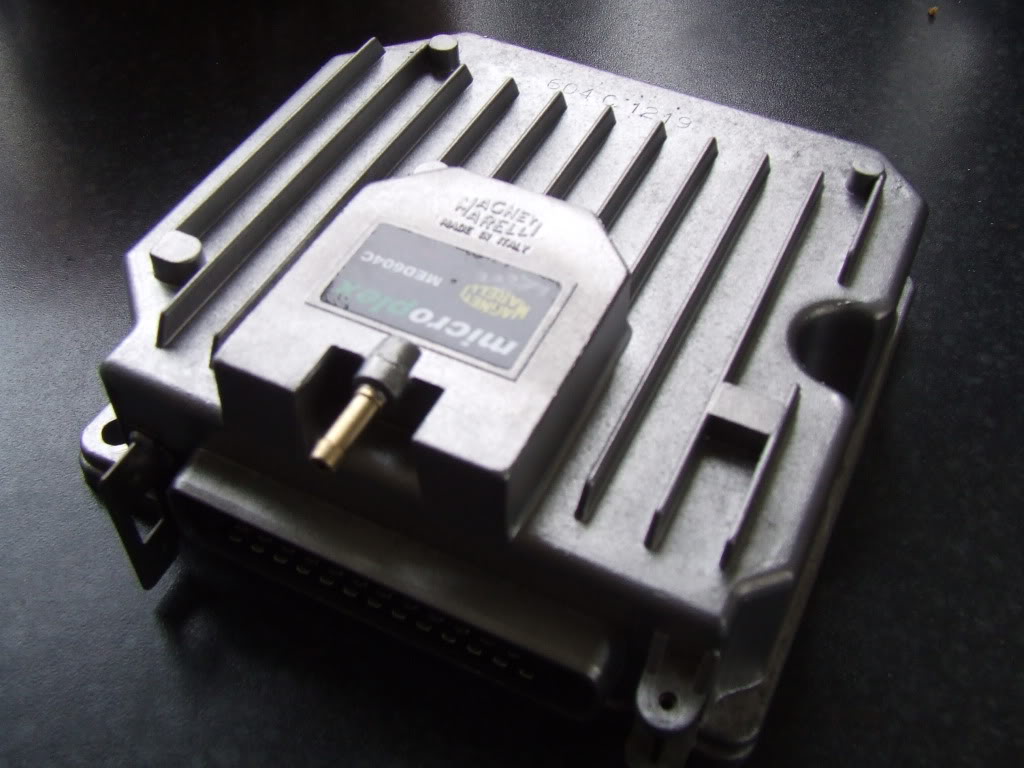
The ECU is still standard with no boost adjustment so the plan is to now decide which way to go, Stand alone ECU or piggy back. Im not looking for massive BHP so Piggy Back may be the sensible route.
Either way, a digital boost controler is defo on the list.
Ill wait to see what Austec have to say:)

hakydan- 4th gear

- Posts : 113
Join date : 2013-01-30
Page 1 of 5 • 1, 2, 3, 4, 5 
 Similar topics
» mk1 restoration
» My mk2 uno restoration web page.
» Fiat Uno Mk1 Abnormal Restoration :D
» MK1 Barn find restoration
» light blue metallic mk1 g reg restoration
» My mk2 uno restoration web page.
» Fiat Uno Mk1 Abnormal Restoration :D
» MK1 Barn find restoration
» light blue metallic mk1 g reg restoration
Page 1 of 5
Permissions in this forum:
You cannot reply to topics in this forum
 Home
Home






 [/URL]


